Introduction:
I though I'd write a quick how to guide on DIY wheel refurbishment. A lot of people have said they would like to have a go at doing their own wheels but were a lit unsure on the best way to do it.
A lot of people go the Powder coating route and good results are always obtained, but in most case the majority of people can't stretch to £40 a wheel. If you fall in to this group of people then this might help you out.
The budget I set myself for the doing the wheels was £50 for the set.
The job:
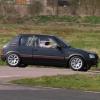
I started with the worst wheels I could find:
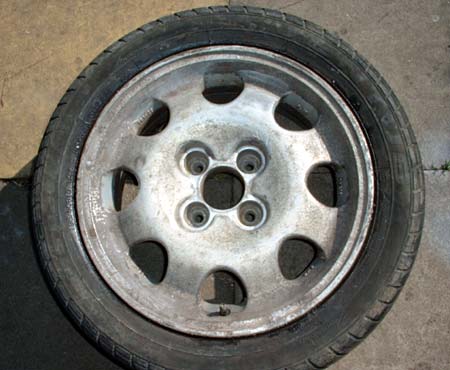
very bad condition of the wheels to start with
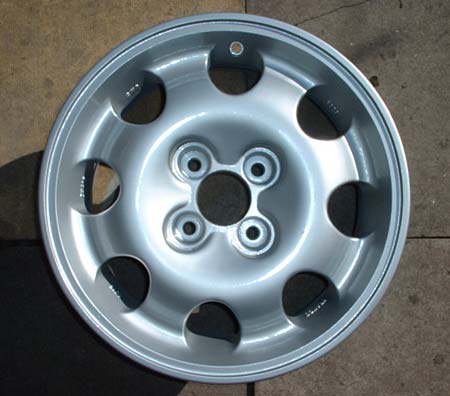
I removed the tyres from the wheels and shot blasted them all off. I allowed £30 out of my budget for this. The wheels then looked like this:
shot blasting makes them already look much better :-)
The Shot blasting removes 85% of imperfections in the wheels, however curb damage will require an orbital sander to make the edges smooth.
To make this a true DIY operation I used airsole primers and paint / lacquer:
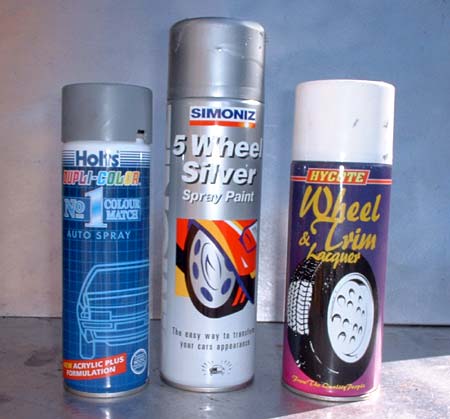
this is what you need for the 2nd part of the refurbishment
I used an all in one filler primer. This fills in small pits the shot blasting leaves on the wheels. I picked up all of the above from my local Motor factors. I used two of the filler primer and two of the wheel silver. I also brought some 1000 and 1200 grade Wet and dry. Total cost for all the materials £18.52.
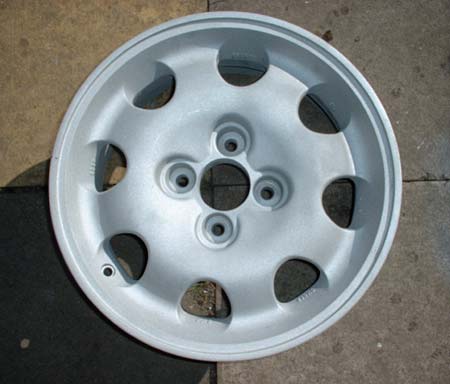
With the prep work done on the bare alloy it's time to spray with primer:
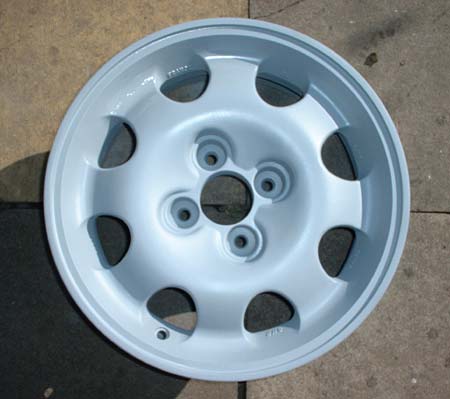
the wheels are now prepared for painting and lacquering
I gave each wheel 3 coats of primer and rubbed down with the wet and dry in between coats. The more time you spend on the preparation the better the results will be.
With the primer on and sanded smooth I applied the first layer of topcoat. I gave each wheel 3 layers. The lacquer was applied thirty minutes after I sprayed the wheel Silver.

now painted and lacquered, they look like new!
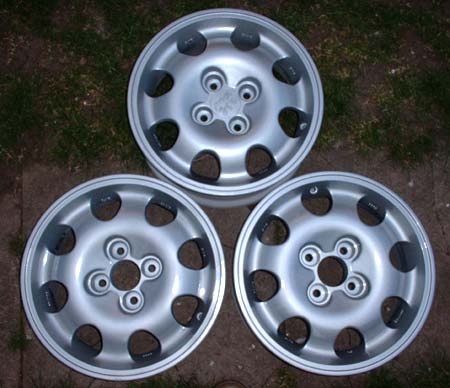
amazing transformation isn't it?!
As you can see, the end result looks a vast improvement, with the job coming in under my £50 budget. So don't be scared at having a go yourself.