Introduction:
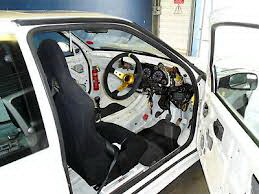
First thing is first, when you go out buying a car for track use only, you must disregard the condition of the intereor and to an extent the body work. Minor rust is fine, and normal for most 205's.
Once you have bought your 205 you then need a fair bit of space to store the interior until you can sell it, or if you wish until you replace it before selling the car on.
Note: 205 stripped in this article has got a late type interior (1988>) but it should be almost the same procedure for stripping out a 205 with early type interior.
First steps:
It is relatively easy to strip the interior of a 205. First of all take out all loose items; Parcel shelf & boot carpet.
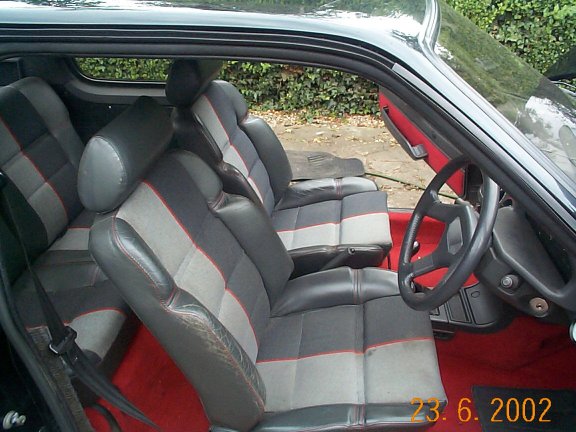
Front seats:
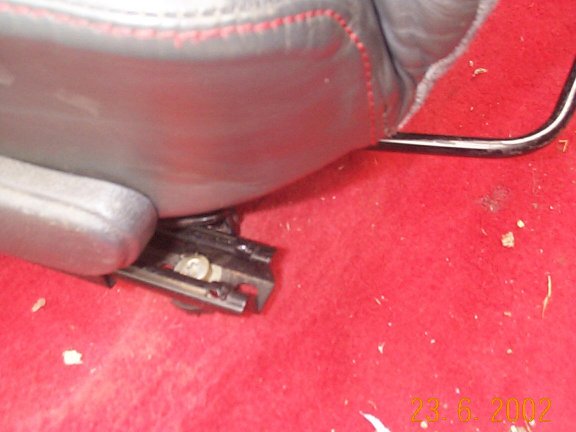
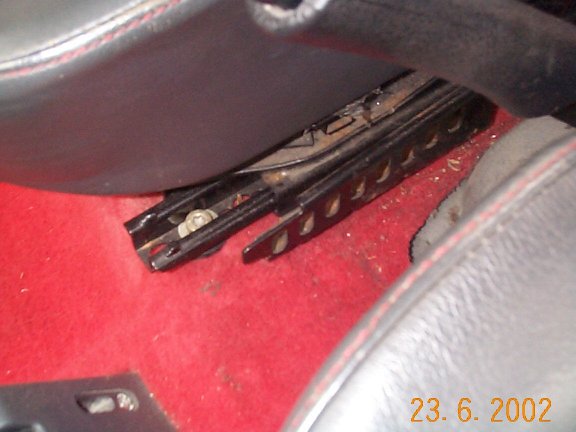
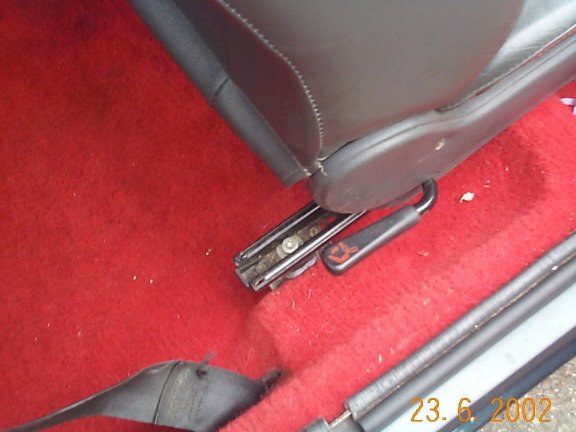
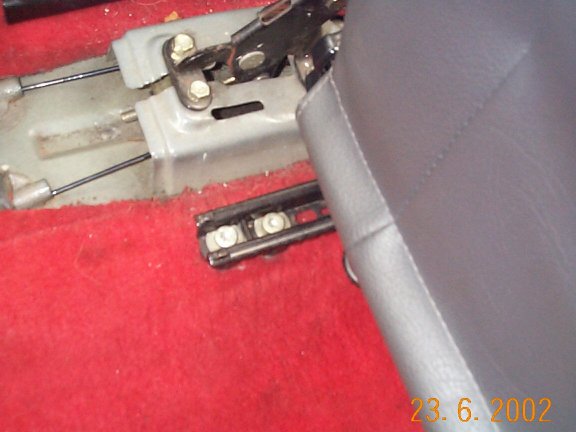
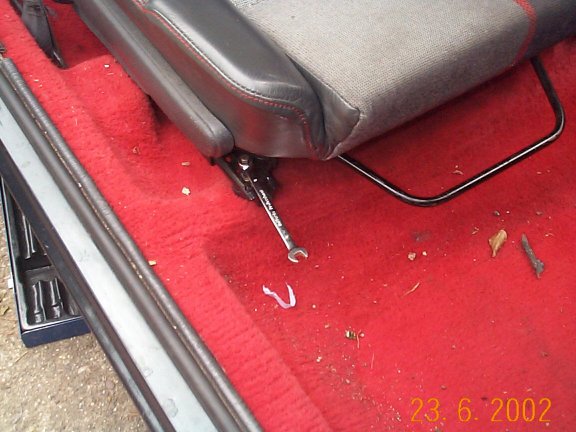
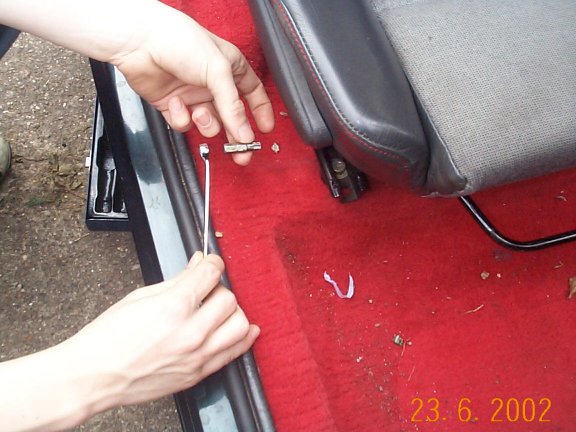
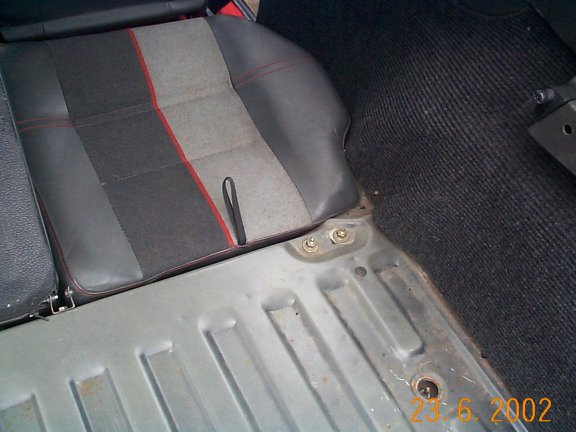
Next on the list are the seats the easiest way to do this is to take out the front seats first. You will need a set of star keys to take out the front seats, Star key attachment for a socket set will do the job, but it is a little tight for space. Firstly slide the seat back and undo the two brass coloured bolts holding the front of the seats subframe to the car, if you are using socket set star keys, its a little difficult to get to these front bolts, we found that instead of using the rachet, use a spanner that fits around the star bit (see photos below). Slide the seat forward and undo the three brass coloured bolts holding the back of the seats subframe to the car. Remove the seat and subframe from the vehicle.
Rear seats:
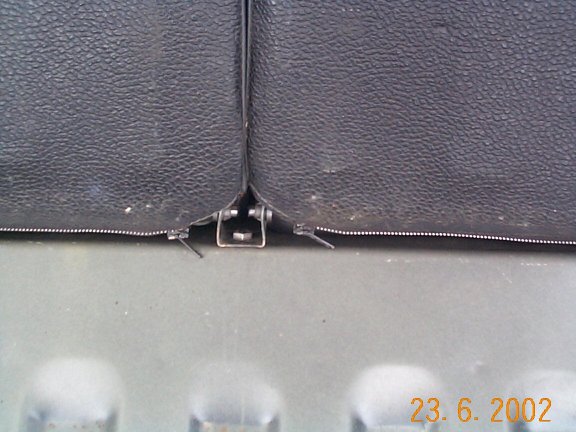
The rear seat backrest is held in by bolts in the bootspace of the car, two on each side of the boot and clip at the base of the seat split. Undo all of the bolts and pull the backrest toward the centre of the car to disengage the side bolts, then pull the outside of the seat backwards and toward the outside of the car to pull the seat from the centre clip.
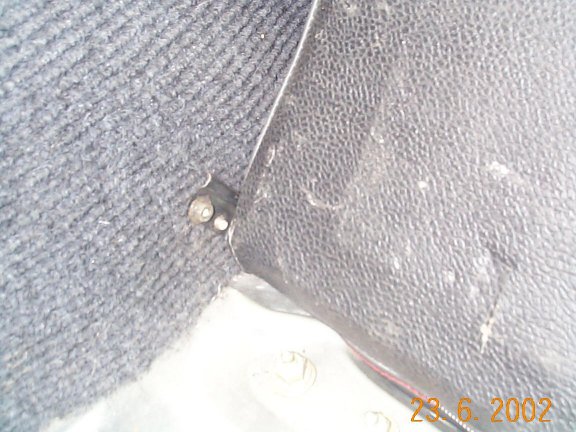

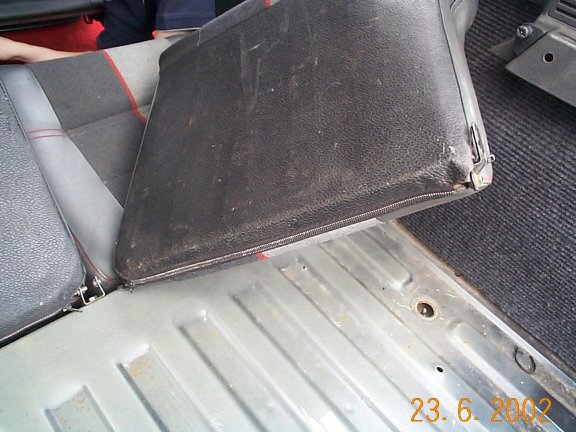
The rear seats are much easier to remove, there are four 10mm nuts holding the two sections of seat to the car on the forward facing elevation under the seats. Undo these and pull the seats forward to disengage the bolts.
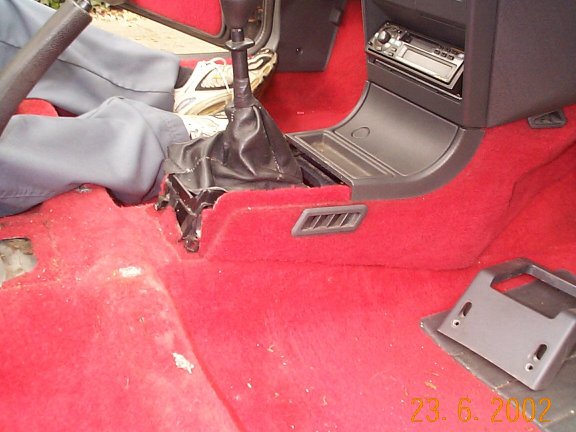
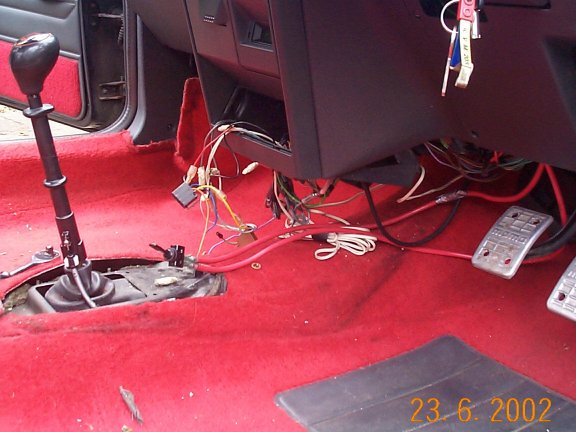
Center console:
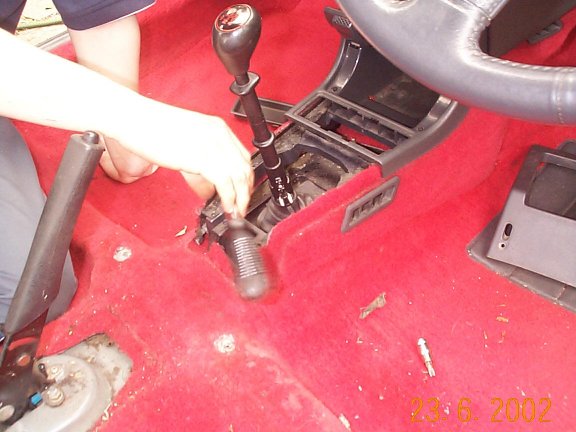
Next comes the centre console and handbrake housing. Remove the handbrake housing first. Next remove the gearstick surround by undoing the 2 philips head screws located at the rear of the gearstick and remove section.
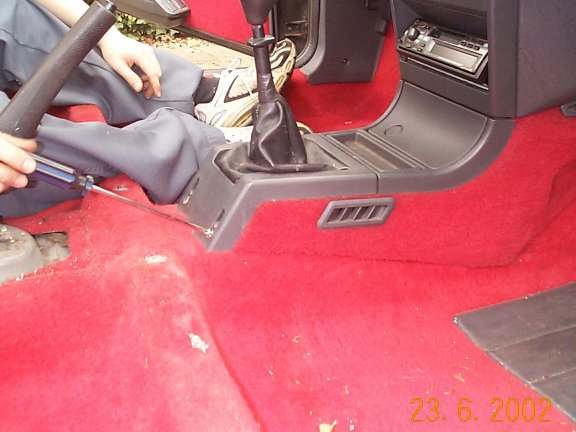
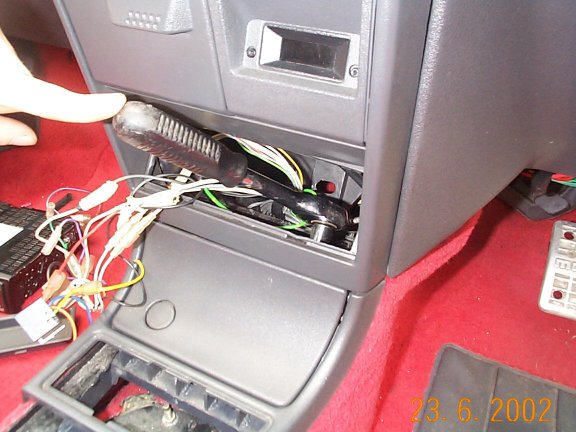
Using a socket remove the bolt uncovered be the previous procedure and the two bolts on the inside of the stereo compartment. Remove console by the sides out and down, while pulling the whole lot backwards, once it has moved a little, start to lift the rear section whilst continuing to pull backwards.
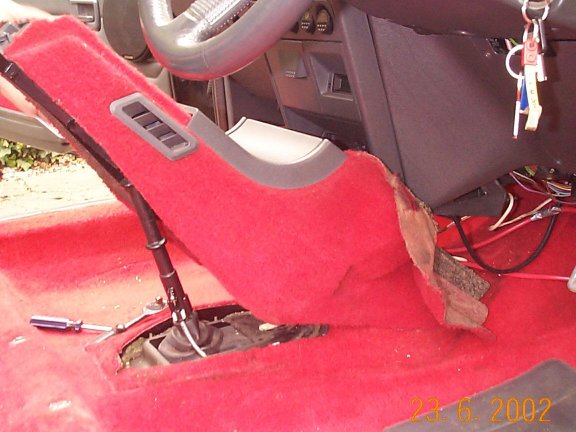
Carpet:
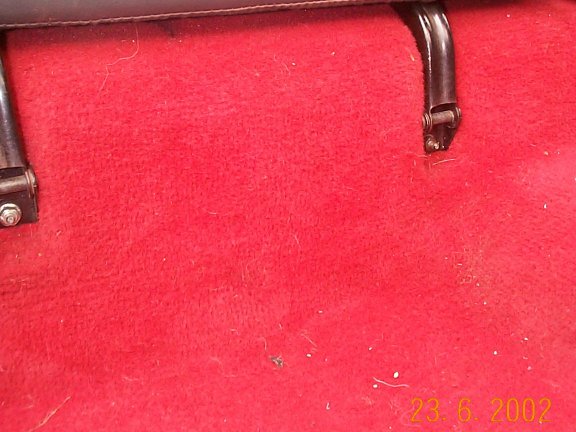
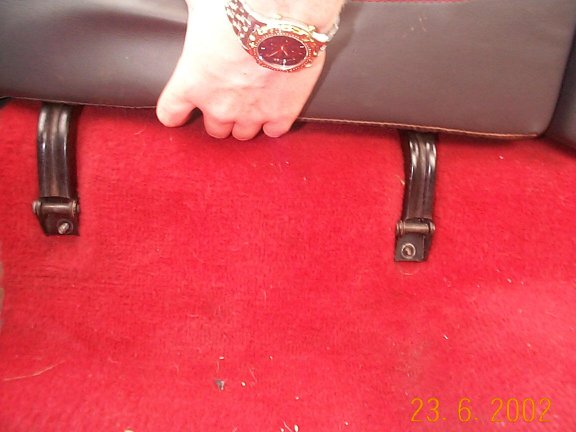
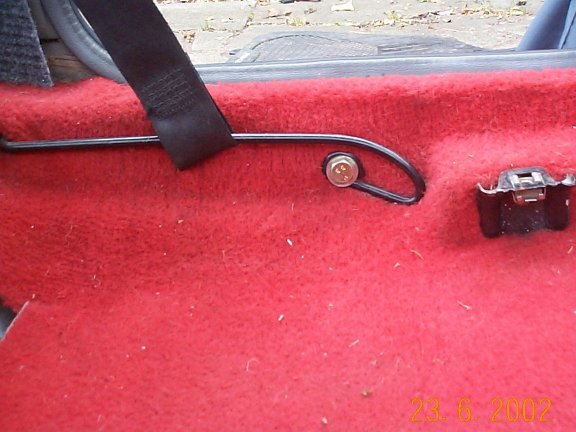
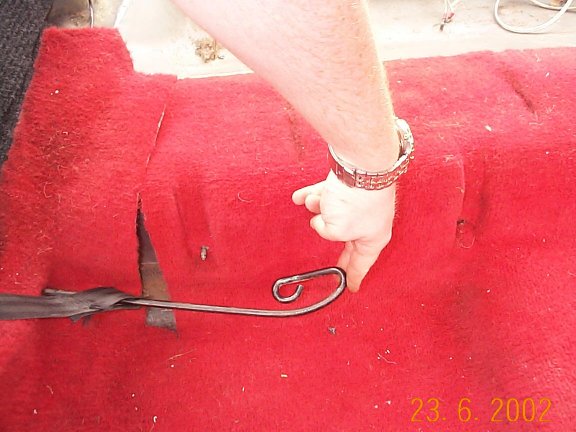
Next remove the front seat rear brackets then remove the bottom slider section of the front seat belts by undoing the bolt, pulling the bar out and toward the rear, then rotate the bar upward until it is near vertical and pull the bar until the first bend is showing then without pushing the bar back in to the hole, place it back down putting constant pressure toward the rear of the vehicle and it should come out, basically, wiggle it till it comes out. Once this is done the carpet can be removed, try and be careful not to rip the carpet, it should just come out easily, if you meet any resistance at all, stop and investigate the point of resistance for retaining clips or bolts.

Door cards and various trim:
The next thing to do is to remove all remaining plastics and internal panels/door cards. To remove the door cards first remove the tray and electric window switch housing which is held in by a series of Phillips #2 screws and unplug the connectors inside the switch housing.The internal door handle is held in by 2 screws on the underside of the handle. You can then remove the door card by prizing it away, use a large flatbade screwdriver to start yourself off if need be and simply pull the door card away from the door, it is held in by a series of plastic clips which should remain in the door card rather than in the door. If one or two of these stay in the door, don't worry, pull them out of the door with a pair of pliers and replace them into the door card. To fully remove the card you then need to push the wires for the electric windows wack through the door card, there is a cutout cut to the exact size of the connectors, look on the back of the card to see what orientation you need to place the connectors in order to push them through, push one through fully and then the second (drivers side only), the connectors must not be pulled thruogh but pushed to ensure the wires are not pulled out of the connectors. The speakers may then be removed from the doors.
The boot plastic panel will just pull off quite easily, held in by the same clips that hole the door cards in. Most other pieces of plastic are held in by small phillips screws, but some are simlply held in by other peices of plastic (such as the front pillar covers).
Seat belts:
When it comes to removing the rear speaker covers you will find the seatbelts go through the plastic. At the point at which the seatbelt goes through the plastic you will notice a plastic insert around the belt between it ad the plastic, pull this upwards and slide it a little way up the belt, there is a slit in this peice of plastic, slide the belt through this slit.
The belts now need to be removed. all the belts are held in by 13mm bolts which are all very stiff. IMPORTANT, before removing any of the belts tie a knot in the belts, or clamp them just before the reel to ensure the belt does not retract fully into the reel. If this happens the reel must be dismantled to relocate the coil spring.
1) Rear belts; Remove the three belt clamps and lap strap held in by two bolts which are on the forward facing wall as the boot begins, these will be very very stiff due to the bottom part of the bolt being exposed to the elements. Remove the top section of the outer two belts by removing the bolt cover with a flatblade screwdriver, then undoing the bolt. Remove the bolt cover from the bottom section of the belt (the free end not the belt reel) then remove the bolt. now slide the belt through the, now larger, hole in the rear quarter plastics. Remove reel section of the belt, held in place by one bolt on the lower side of the reel.
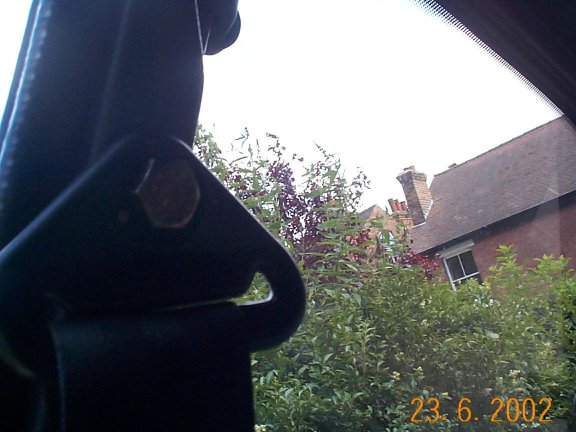
2) Front belts: remove top pivot point first, remove the bolt cover and undo the bolt.The main retractor can now be removed, this is held in by one bolt to the side of the car. undo and remove belt.
Now you are at the stage where minor internal aesthetics damage can be repaired such as paintwork and surface rust.