
Introduction:
This is a very rough guide to the front, rear and boot of a 205 and how to stop them rattling, by Woosey from Talk Audio.
This is a must in a car like a 205, it's made of paper ;-). There are lots of products suitable for this job, Dynamat (most expensive), Brown Bread, Ivanhoe, Aquaseal (avialable from DIY shops) and Marley tape (also available from DIY shops). Dynamat is very good but very expensive, Aquaseal and Marley are very cheap compared, but you need to use about three layers to get the same affect, still works out cheaper though.
Front Doors:
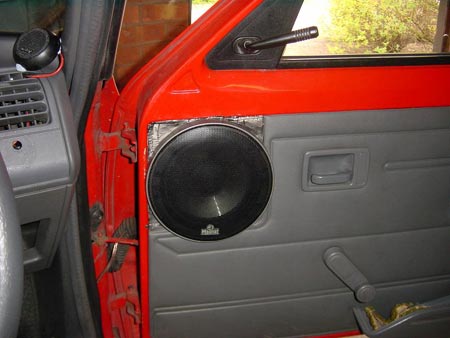
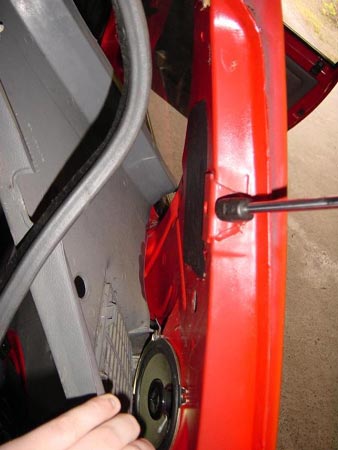
To begin with do the front doors, wind your window up (this is a must :-)). Then undo the little pocket at the bottom, then the door handle, then pull the door handle surround off (just lever it with a screwdriver). Then take the speaker grill off, once that is done, run a screwdriver alone the edge of the door card, it should come off no problems. Once off, place the product off your choice (see above) onto the door until you cant see any bare metal. I did both inner and outer skin, then one layer over the big holes in the door, it improved the bass response so much.
Repeat on passenger door.
This should improve the bass from your front speakers and also stop the doors rattling.
I would take the door card off to show you the sound proofing, but that means taking speakers off etc so I can't be bothered, but you can see how much has gone on this door, it's rock solid (for a 205 ;-)).

just mid driver
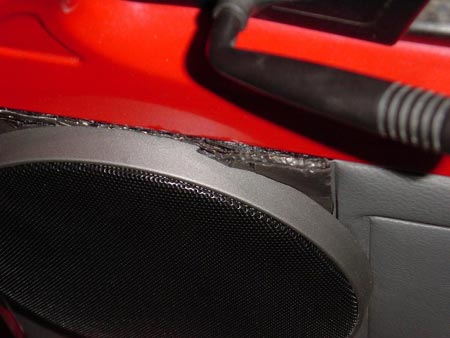
shows layers of aquaseal
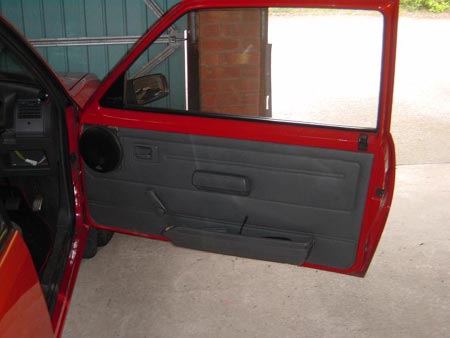
whole door
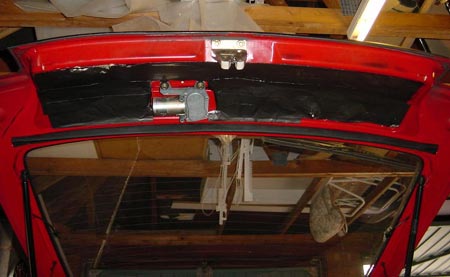
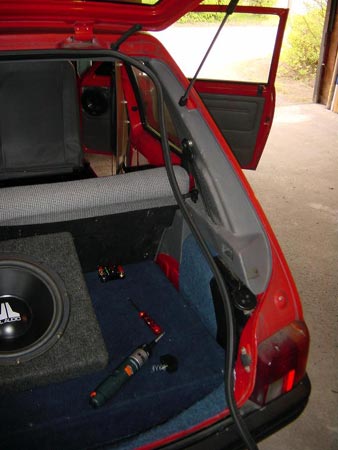
Boot:
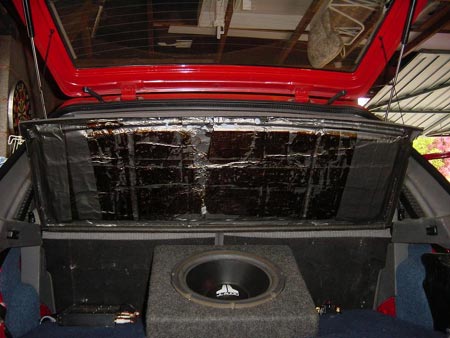
If/when you decide you want a sub you will also need to sound deaden the boot. I can't show you much as I couldn't be bothered to take my install to bits, but basically there are 3 layers of aquaseal that cover the boot floor, it's dead. The sides IMO don't need to be deadened, it doesn't rattle so leave it. The parcel shelf had about 7 layers on but some fell off in the hot weather so about 3 layers is now there (that's what all the brown glue is, where aquaseal once was), but with 3 layers it still is a huge improvement on nothing.
parcel shelf
The back of the boot (see pic below) is the biggest rattle ever in the pug, I fixed this but first taking the big black panel off (pic below shows some of the clips that held it in place, just use a screw driver and run along the edge, it will soon come out). Then i filled with expanding foam, be careful to leave the wiper motor free of any expanding foam, don't want to stop your rear wiper working. Leave the expanding foam for about 6 hours to expand, then stick some Aquaseal (or Dynamat if your rich) on that panel, the foam will still expand and will probably seep out (mine took about a week to finish expanding). That should kill lots of rattles. On my pugs, rear bumper on the left of the number plate it had a reflector, as mine is pre face lift I simply took it out, it made a HUGE difference to the vibrations outside the car :-). If your car is after 1990 you are likely to have your reverse light there, don't remove that if it is ;-).
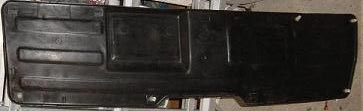
panel that must be removed
panel after sound proofing
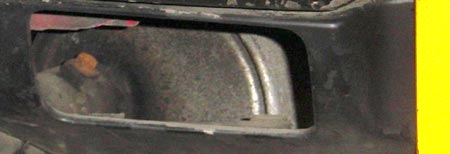
reflector used to be here
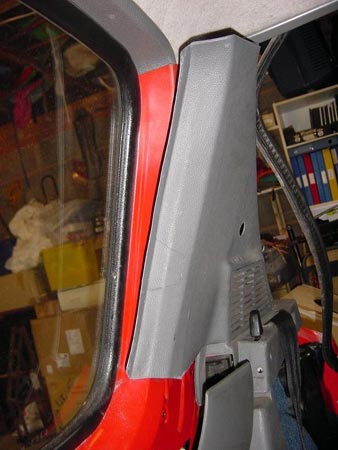
Rear Quarters:
This didn't make a huge difference, but as I took it to bits I shall document it anyway.
OK, the rear door card requires the use of a flat headed screw driver, just run it across the edge and it will come off for you, it tucks under the plastic panel where the rear speakers are housed, so be sure to pull it down otherwise it wont come out. Once removed my pug looks like this:

door card off
rear wheel arch
I only put a little here as I ran out of aquaseal, not sure if I will add anymore.
Taking off the plastic panel:
Well this took me about 20 mins and considering this is the first time I had done it, with no help and guessing which bit next, don't think I did too bad :-).
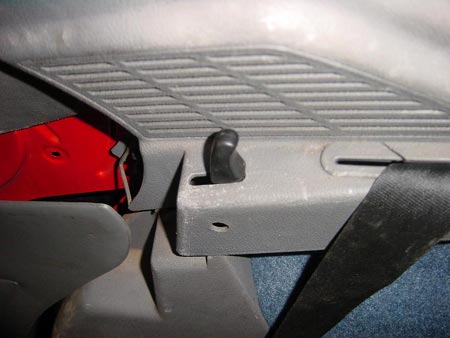
OK, well first off took the boot seal off and took the little black parcel shelf holder (screw is in the middle). Looks like this:
the thing :-)
Then took rear seat belt holder off (you need a 17mm piece for this), once that was done I got the panel from under the window seal, just ran a screwdriver down the seal and pulled the panel, it soon came out :-). Then took the parcel shelf hinge off (two screws):
the panel came out
After doing that I could pull the panel back like this (BTW that is a rear speaker AND its a Sony :-P but it isn't wired in :-P):
pull the panel to gain more access
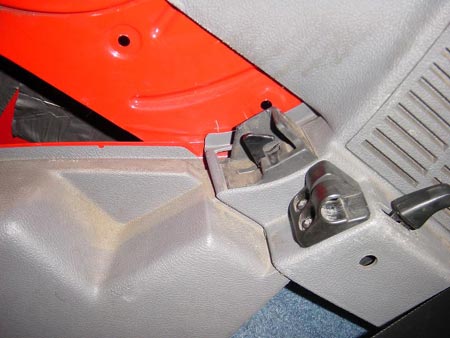
This is where is got stuck, this thing in the pic, I couldn't find a way to get it out of the way, the panel was free apart from this:
little annoying thing
So after about 5 mins of playing around with it I gave up, put everything back. Little tip for when putting things back, in this picture, make sure the panel is over the sticking out black thing, as it's annoyingly hard to get right if you don't.
almost back together
From then on its child's play :-).
Also check out my 205 Cable Routing Guide.